Projection options — creative projection ideas for your home in Australia
Projection options are a fast way to change the feel of a room. You can go subtle or dramatic. You can pick options that work with tight budgets or with full production values. In this guide I explain the main types we offer. I also share hands-on tips for setup and how to avoid common mistakes. The goal is simple: help you choose a solution that looks great and is easy to run. Expect clear, friendly advice you can use right away.
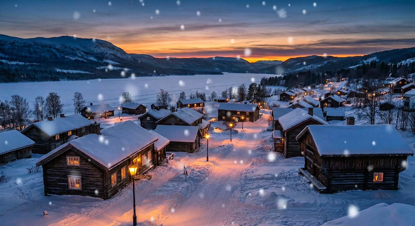
Why choose projection options for your space?
Projection options let you be flexible. You can swap designs in seconds. You can scale visuals from a small TV to a whole wall. They save time and let you test ideas. Projection work is low impact. There is no painting or construction. You can try seasonal themes in minutes. Projection also helps tell a story. A soft animated loop can add atmosphere at a dinner. A bright motion piece can bring life to an outdoor window show. Projection works in homes, cafes, and shopfronts. It also works for events on a budget. I recommend starting small. Try a single scene on a wall or window. See how light and motion feel in your space. Then you can expand. If you want help, we can suggest scenes that match your vibe. Projection delivers big visual results with small effort. It is a great first step into immersive decor.
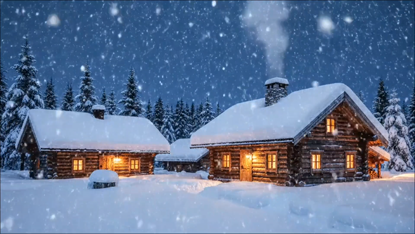
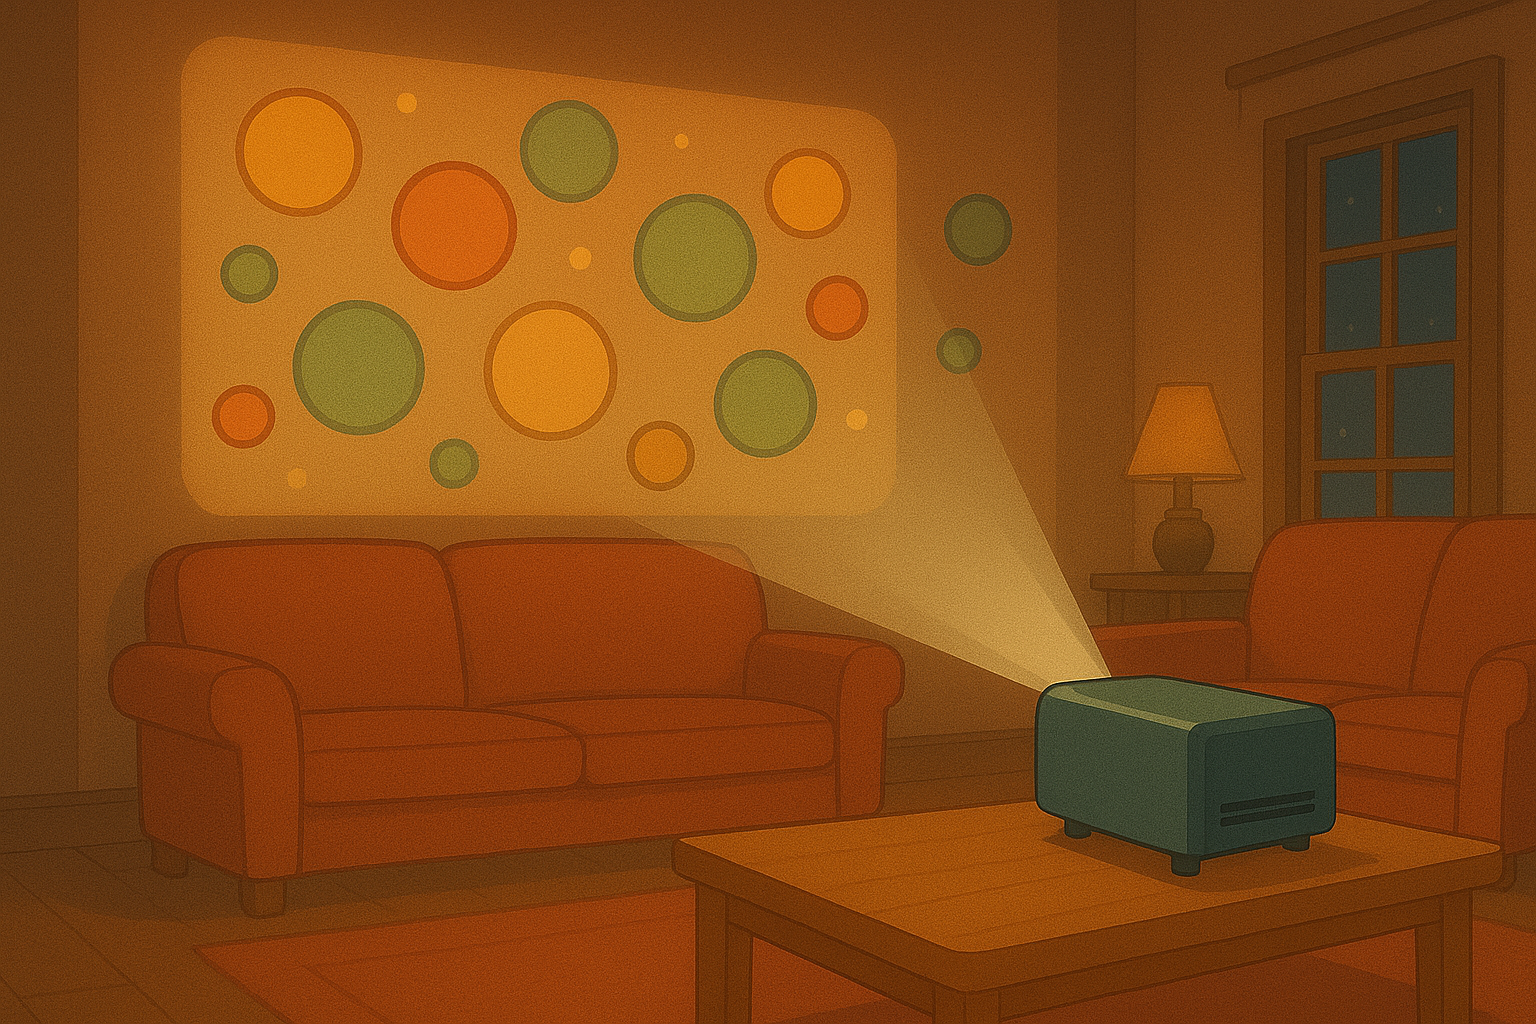
Wall projection: big, bold, and immersive
Projection options on a wall give the biggest impact. A bright projector can cover a large surface. You want a smooth, light-colored wall. That gives best colour and contrast. Place the projector so the image is perpendicular to the wall. This avoids keystone distortion. Use a mount or a steady table. A short paragraph of text on hardware: a 3000-lumen projector works well indoors with some ambient light. For darker rooms, lower lumens will do. Choose a projector with HDMI and simple apps. Keep the cable tidy to avoid trips. For outdoor events, pick weather-rated housings. For rentals, we provide mounting and power plans. Projection options for walls are perfect for art, landscapes, and animated textures. They also blend well with sound cues if you want audio. Test the image at the time of day you plan to use it. Light changes can make a big difference. If you need to cover corners, use multiple projectors and blend the edges for a seamless look. That takes a little tuning but looks professional. Simple setups can be done in under an hour. With a little planning, wall projection turns a blank surface into a visual destination.
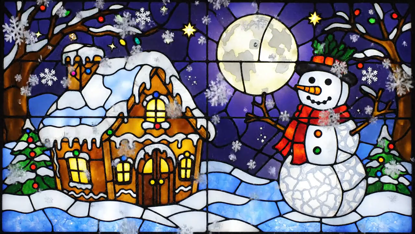
Window projection: seasonal charm and outward-facing displays
Projection options for windows open up festive and retail possibilities. You can show visuals to people outside while keeping the room cozy inside. For outward visibility, we use rear-projection film or translucent screens. Apply the film to the window and run the projector from inside. This keeps gear safe from weather. Use images with strong contrast and clear shapes so passersby notice them. For seasonal windows, animated loops of snow, candles or simple patterns work well. Keep motion slow to be calming and avoid distraction. Lighting control inside helps. Dim the interior so the window visuals pop. Also consider the time of day. Daylight can wash out images, so design bright scenes for daytime displays. At night you can tone down brightness to avoid glare. Projection options on windows are also great for advent windows and shopfronts. They let you tell a short story to people walking by. We can help tailor visuals to your brand or event. Small onsite tests show you how a design reads from the footpath. That step is worth the time.
Floating nets and gauze: create magic in the middle of a room
Projection options on floating nets are perfect when you want a three-dimensional feel. Thin gauze or netting hangs without blocking the room. Project onto the fabric to make images seem to float. The trick is distance. Keep the projector behind the audience so the image sits between people and the far wall. Use low-gain gauze for a soft, ghostly look. You can layer multiple nets for depth. Each layer can carry a different animation for a parallax effect. This works especially well for theatre lobbies, weddings, and installations. Light control helps. Keep other lights low so the projection reads clearly. Make sure the net is gently tensioned so it does not move in drafts. Projection options using nets create a sense of wonder. They are also reversible and easy to pack away. For hire events we often pre-rig the nets and test alignment before arrival. That keeps the install smooth and stress-free on the day.
TV and screen playback: simple, reliable, and familiar
Projection options are not only about projectors. You can use TV screens too. Playing animations on a TV is easy. Connect via HDMI, streaming stick, or our app. This is a good choice when the space is bright. TVs give crisp colours and stable images. Use a large screen for more impact. Mount it at eye level for seated audiences. TVs work well in lounges, bars, and reception areas. They also pair nicely with background music. If you want looping visuals, set up a media player or a playlist. For remote control, our app lets you swap scenes from your phone. You can also schedule daytime and evening looks. Projection options on screens are low fuss. They require less tuning than a projector and still allow for dynamic content. Consider using a combination: a TV for logos and information, plus a projector for atmosphere. That mix gives clarity and mood in one setup.
How to choose and combine projection options
Projection options can be mixed to match your goals. Start by listing the mood you want. Is it cosy, dramatic, or playful? Next, measure your space and note light sources. These two steps guide the device choice. For bright rooms choose a TV or a high-lumen projector. For intimate, dark spaces a modest projector will do. Think about mounting and power. Projectors may need ceiling mounts or stands. Windows need film and safe placement. Nets need rigging points. If you want a quick win, pick a single wall scene and a simple projector. For layered experiences, plan for a projector, a TV, and a net. We can help with content, too. Our library contains loops made for windows, walls and nets. If you plan an event, order a site visit. We will test sightlines and lighting. That reduces surprises on the day. Projection options give you control and creativity. With a bit of planning, you can create memorable atmospheres that suit Aussie homes, shops, and event spaces.
Popular projections