Modern christmas decor – How to create calm, elegant holidays with light and projection
When you want a low-key holiday look that still wows, modern christmas decor is your secret weapon. The aim is to make a place feel warm and intentional. You pick a small palette, add light and keep details simple. That way each element breathes and nothing competes. If you love design but hate clutter, these ideas will fit your style.
Why light and projection beat glitter for a modern aesthetic
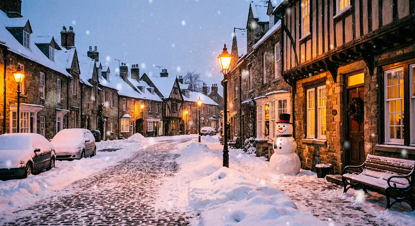
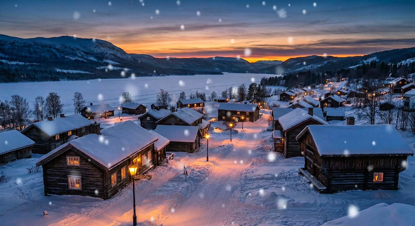
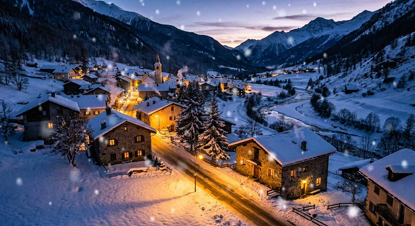
Light shapes mood faster than any ornament can. Modern christmas decor uses warm light, soft shadows and gentle motion to create a sense of calm. A single projected pattern can replace dozens of baubles. It also keeps surfaces clear. That makes your space feel bigger and more relaxed. In Australia, where houses often have clean lines and natural materials, projection fits well. It enhances textures like timber, linen and concrete without fighting them.
Projection gives you options. You can pick snow, abstract shapes or subtle bokeh. Or you can create a slow wash of color on a wall. That adds interest without clutter. The effect is elegant because it’s not permanent. You can switch scenes for different evenings. This flexibility is a key reason designers lean on modern christmas decor. The result is a curated look that still feels warm and human.
Choosing a palette and materials for a restrained look
Start with two or three tones. Think warm white and one neutral, plus a single accent. Modern christmas decor works best when metal, wood and matte ceramics carry the scene. A soft wool throw, a couple of sculptural candles and a bare branch in a vase are all you need. These materials read as tactile and intentional. They also capture the light from projections beautifully. The interplay of shadow and surface can feel very cinematic.
Keep reflective surfaces minimal. Mirror and high-gloss ornaments bring flash. If you prefer quiet, use brushed metal or muted glass. A brass candle holder or a frosted vase adds depth without shouting. Arrange items with breathing room. Negative space is part of the design. It allows the projection to become the star. This approach is what makes modern christmas decor feel sophisticated rather than sparse.
Practical projection tips: gear, placement and content
Pick a small projector with a crisp lens and warm color output. You don’t need cinema-grade gear. A compact LED projector works well for most living rooms. Set it low if you want gentle wall washes, or up high for ceiling scenes. The throw distance matters. Test different distances to find the sweet spot where the image is sharp but soft at the edges.
Choose motion that’s slow and subtle. Fast animations can feel chaotic. For a calm holiday mood, use slow snowfall, drifting bokeh or soft gradients. If you want pattern, pick abstract motifs like oversized stars or linear garlands. Match the content to your décor. For example, neutral rooms pair with monochrome projections. Warmer rooms can handle amber-tinted overlays. With these choices, modern christmas decor stays cohesive and restful.
Layering light: combining projection, candles and lamps
Layering light creates depth. Start with your projection as the base. Then add low-wattage lamps and a few candles. Use dimmable lamps so you can fine-tune the balance. Candles add a flicker that feels human. Place them in groups of odd numbers for a relaxed look. Keep open flames safe and consider LED flame candles for long sessions. The combination of steady projection and small points of fire is what makes modern christmas decor feel both modern and intimate.
Use light temperature to unify the scene. Keep all sources in the warm range to avoid clashing whites. If your projector is cooler, add a warm gel or choose warmer content. The eye prefers consistent warmth in a calm setting. When everything reads as part of a single palette, the space feels curated and intentional. That’s the quiet power of a layered scheme.
Simple scenes you can recreate this weekend
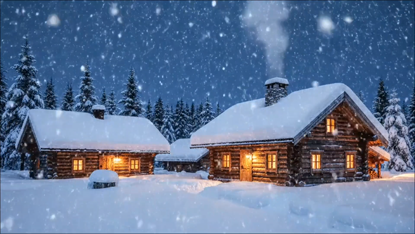
Try a slow snowfall on a textured wall. Position the projector so the snow flows over a timber panel or linen curtains. Add a low table with a sculptural bowl and a couple of taper candles. This setup is easy and dramatic. Another idea is a gentle starfield on the ceiling. It makes the room feel larger and is great for a relaxed dinner. Use minimal tableware and let the light do the decorating.
For an entryway, project a warm gradient over a console and place a single sculptural ornament beneath it. That small cue sets the tone before guests even step inside. All these scenes use the same principle: keep objects few and let the projection provide atmosphere. If you’re aiming for modern christmas decor, small changes and clear choices deliver big impact.
Maintaining the vibe: storage, repetition and sustainability
One reason people love this approach is its low storage need. Modern christmas decor leans on tech and a few well-made items. That means less seasonal clutter. Store projections as files, not boxes. Keep a small box with candles and a couple of ornaments. Reuse textiles across seasons. A neutral throw works through winter and beyond. This approach is kind to your home and the planet.
Repeat shapes and colors sparingly. A motif repeated three times reads as deliberate. Too many repeats feel like kitsch. Also, invest in quality over quantity. One well-made piece will outshine a box of mass-produced trinkets. In the long run, you’ll enjoy the calm and clarity of a home that reflects your taste. That is the essence of modern christmas decor: a focus on mood, not excess.
Final thoughts: making Christmas feel modern and meaningful
At its best, modern christmas decor helps you slow down. It brings attention back to light, texture and time spent with people you love. You don’t need a lot to create a strong mood. A projector, a thoughtful palette and a few tactile pieces are enough. Try one scene this year and notice how it changes the feel of your home. Small, intentional choices create a lasting impression.
If you want a simple start: pick one wall, choose a warm projection, and add two or three tactile objects. Watch how those elements work together. The holiday will feel calmer, more curated and quietly beautiful. That’s the point of modern christmas decor — elegant, low-fuss and truly yours.
Popular projections