Home christmas projection: So baust du dein eigenes kleines Weihnachtskino
Home christmas projection is a fun and low-effort way to make your living room or backyard feel like a tiny Christmas cinema. You only need a blank wall, a projector, and a few cozy extras to turn a normal evening into something special. This guide helps you pick the right wall, arrange simple decor, add sound and scent, and keep the tech easy. It is written so you can try it tonight and tweak it for guests. Expect practical tips, Aussie-minded ideas, and small examples you can copy.
Choose the right wall and time
Start with the space you already have. Look for a blank, light-coloured wall inside or a smooth fence outside. Home christmas projection works best on a pale, flat surface. Avoid textured brick or busy patterns if you want crisp shapes and colours. Pick a wall that people will naturally gather near. Think of the wall as your tiny screen. Stand back and imagine a 2.5 to 4 metre wide image. That size fits most living rooms and small backyards.
Lighting matters. Choose a time after sunset for strong colours and clear contrast. Home christmas projection is easiest on a calm evening with little ambient light. If you have porch or street lamps, try switching them off or pointing them away from your display. Indoors you can dim the lights and close curtains. Outdoors, use fairy lights to mark paths but keep them low in brightness. Also think about seating and sight lines. Arrange chairs and cushions so most people face the projection dead centre. That keeps the image readable and the atmosphere cozy.
Think of weather and bugs too. In Australia many Christmases are warm and outdoors. Have a bug spray station and a few citronella candles to keep mozzies away. Home christmas projection outdoors needs a dry night for the gear to stay safe. If rain is likely, move the setup inside or add a simple shelter. Test your setup during the day so you can make quick changes at dusk. A short trial saves time and keeps the mood relaxed when guests arrive.
Decor and the little stage
Decoration builds the story around your projected scene. Keep props simple and tactile. Use a low coffee table, a couple of blankets, and a scatter of cushions. Home christmas projection pairs well with layered textures: wool throws, jute rugs, and a few potted plants. Add a small wreath or a string of warm fairy lights to frame the projection. These extras cue the eye and draw people into the scene without stealing attention from the wall.
Work in a focal point near the projection edge. A small decorated tree, a vintage sleigh prop, or a cluster of wrapped boxes can act as a stage. Home christmas projection looks great when there is a real object catching a bit of light from the projector. That blend of flat image and 3D object adds depth. Use neutral colours near the image so reflections don’t change the projection colours. If you want a theme, choose one and repeat it in soft accents. Maybe coastal Christmas with seashells, or classic red-and-green with simple wooden ornaments.
Think about movement and safety. Keep cords tidy and out of walkways. Use cable covers or tape indoors. Outdoors, raise cables slightly off the ground or run them under mats. Home christmas projection benefits from a clean, uncluttered foreground. That gives your guests space to lounge and keeps the focus on the light show. Photography tips: place a camera on a tripod low and slightly off to the side for a pleasing group snap with the projection in the background.
Sound, scent and setting the mood
Sound completes the mini cinema feel. A small Bluetooth speaker works fine. Choose music or ambient audio that matches the visuals. Home christmas projection paired with a soft instrumental mix will feel intimate. If you want narrative, add short seasonal clips or classic carols at low volume. Keep the sound balanced so conversation flows naturally. Make sure the speaker faces the seating area and not the projection wall to avoid harsh reflections.
Scent is an easy mood hack. A single candle, a simmer pot, or a diffuser can anchor the experience. Home christmas projection becomes more immersive with a hint of cinnamon, orange, or eucalyptus. In summer nights, lighter scents like citrus or pine work well and keep the space fresh. Avoid too many competing scents. One clear aroma is enough to trigger cosy memories without overwhelming guests.
Control the pace. Give each scene a comfortable length. Short loops around 60 to 120 seconds keep the energy moving. Home christmas projection that shifts scenes slowly invites people to look up and comment. Use transitions between scenes that are soft and breathing. If you plan a mini show of four or five scenes, allow a brief pause between each to reset eye focus and conversation. That pacing feels natural and keeps the vibe relaxed.
Keep the tech simple and reliable
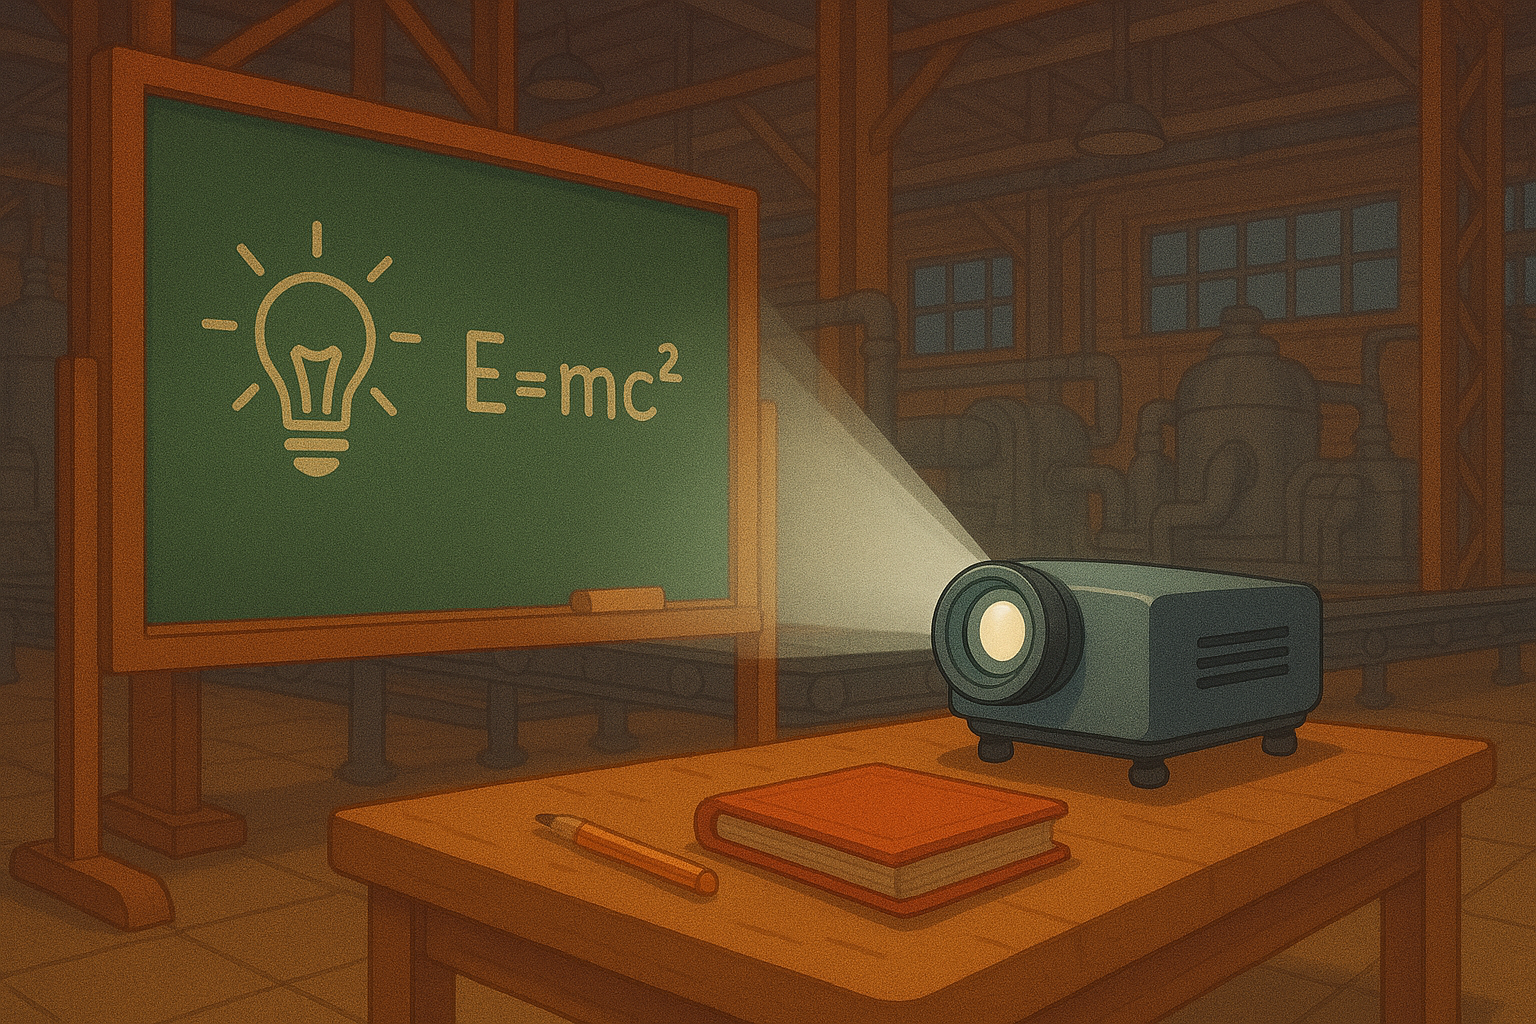
You don’t need pro gear to make a charming display. A small portable projector with HDMI or wireless casting does the job. Home christmas projection is often best with an LED projector in the 800 to 2500 lumen range for indoor use. Outdoors at dusk you might need a bit more brightness. Mount the projector on a stable table or tripod. Aim it square to the wall to reduce keystone distortion. Use the projector’s focus wheel and simple keystone correction to get a crisp picture.
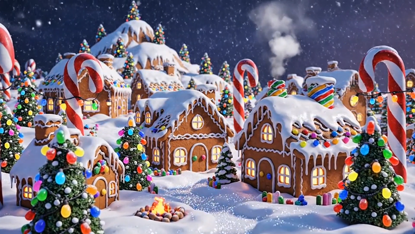
Choose content that suits your mood. There are ready-made loops and themed packs you can buy or stream. Home christmas projection looks great with snowfall, slow-moving stars, or subtle animated windows. If you prefer DIY, create a slideshow of family photos with a gentle fade. Save files locally on a USB stick for reliable playback. Wireless casting is handy but can be less steady on busy home networks. Always test streaming before guests arrive.
Power and cable management matter. Have extension leads and a powerboard rated for outdoor use if needed. Home christmas projection works better when cables are out of the way and protected from moisture. Label your plugs if you run multiple devices. Keep a small toolkit and a roll of gaffer tape nearby for quick fixes. Lastly, run a full playthrough once to check audio levels, image alignment, and any glare from nearby lights.
Examples, layouts and final tips
Try a few simple room layouts before you commit. One layout pairs a projector on a low table opposite a sofa and a scatter of floor cushions in front. Home christmas projection in that setup feels intimate and theatrical. Another layout sets the projector on the verandah roof pointing at an external wall, with picnic rugs and a low table for snacks. Choose what fits your space and how many people you want to host.
Use templates and photos to inspire your own styling. Save pictures of setups you like and try to copy one key idea at a time. Home christmas projection becomes uniquely yours when you mix one copycat element with one original touch. Test a scene with friends or family the week before your main night. Their feedback will help you tweak audio, seating, and decor quickly. Keep things flexible so you can adapt to weather and guest numbers.
Final tips: plan snacks that are easy to reach, have extra blankets on hand, and set an end time so the evening feels intentional. Home christmas projection is about atmosphere more than tech perfection. Keep it simple, warm, and welcoming. If something goes off script, laugh it off and use that as part of the memory. With a little practice you will have a repeatable recipe for cosy, low-effort Christmas magic at home.
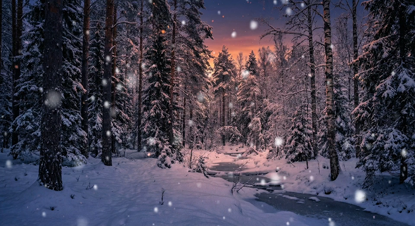
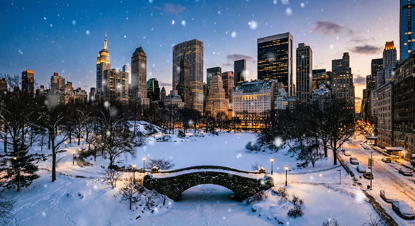
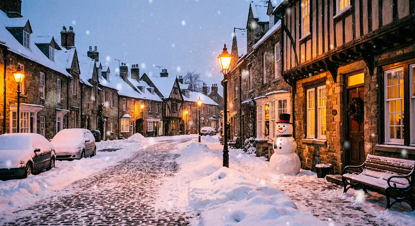
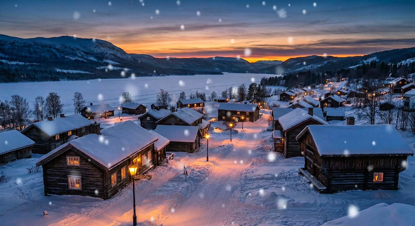
Popular projections